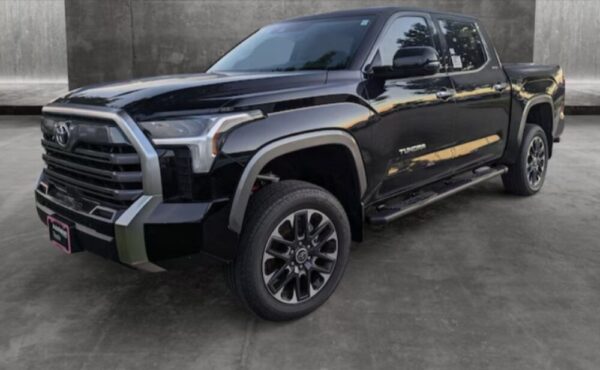
Buying a used van is an economic decision. To make the most out of it, you should ensure that you buy the best possible used van on the market. To help you do that, you can simply refer to this comprehensive checklist:
#1: Check its body and paint
Check the used van to see if it has any of the following:
- evidence of rust
- evidence of crash repairs
- hail damage
- creases
- ripples
- dents
- mismatched, loose, or misaligned panels
- paint overspray
You should also take time to check its doors, tailgate, or boot. Check if they latch firmly and close smoothly.
#2: Check its interior
A van’s interior should be checked meticulously. You should watch out for damages that usually get noticed during daily use. Check if the following are still in good condition:
- seats
- interior plastics
- carpet
Check for cracks, damage, stains or wear and tear that don’t match the van’s given age and kilometres. Don’t be afraid and never feel bad when you feel like you’re asking too many questions. Always keep in mind that you’re buying a used van. Hence, you need all the information you can get regarding its history and previous owners. The more information you’d have, the easier you’d arrive at a sound purchase decision.
#3: Check its engine oil
You should have access to the van’s service book. A stamped service book will easily reveal important information. With it, you’d know if the used van has been serviced regularly. You can also check its engine oil with the use of a dipstick. Your dipstick should show a honey-coloured oil. A black-colored dipstick means that oil has been exposed to much dirt or dust contaminants. It also signals that there may already be soot build-up.
#4: Check its vehicle identification
You can do this by knowing the used van’s vehicle identification number (VIN). Verify that its VIN matches the given VIN on its registration papers. Find the VIN on the following:
- on a tiny silver plate placed in the rear corners of a used van’s engine compartment or
- at the windscreen’s base
While you’re at it, you should also verify the used van’s compliance dates and build.
#5: Check its radiator coolant
A used van’s coolant should be brightly coloured and clean that is normally in the shade of red or green. Do note that you should only remove the radiator coolant’s cap once the engine is cold.
#6: Check its engine
You can do this by being fully observant during the test drive. Observe how it feels and sounds when it is idle and when it is being driven. While driving, you should take note if the engine is smooth-running. You should also check if the engine is quiet both when it’s idle and when it’s used.
#7: Check its tyres
Inspect its tyres by doing a full visual inspection. Check if all of its tires look good. Look for signs of uneven wear, damage, and tread depth that goes over the minimum wear indicators. You would want your used van to have tyres with the same pattern and brand.
#8: Check its exhaust
Check the color of the smoke that comes out of the engine. White, black, or blue smoke signals an engine problem. A noisy exhaust or a knocking sound also signals an engine problem.
#9: Check its fluid leaks
Do this by checking the following:
- the spaces around a used van’s engine compartment
- the space underneath the used van when it is parked
These spaces would signal when something is wrong if you’d see signs of coolant, oil, or other leaks. Such signs would tell you that the used van is not properly maintained. It would also signal that the used van will need repairs.
#10: Check its seat-belts
A used van should still have a seatbelt that works pristinely. A seat belt should be able to do the following:
- smoothly extend
- smoothly retract
- smoothly locks
#11: Check its lights
You should also go out of your way to check the lights of your preferred used van. Check the health and state of the following lights:
- taillights
- head
- park lights
- indicators
- reverse
- number plate lights
![]()
#12: Check its warning lights
A used van should also still have fully functioning warning lights. Do check its warning lights while the engine is running. Check if warning lights are lit up on the van’s instrument panel. Your used van should have fully functioning warning lights because they will be the van’s means of communication. All should duly light up when something is off or wrong. Normally, they should all illuminate briefly once you start a van.
#13: Check its jack and tool kit
A used van should come with a jack and a tool kit. You should check if they are properly in place. You should also check if they are still in working condition.
#14: Check its equipment
Lastly, you should also take time to check all of the van’s accessories. Such check should cover the inspection of the following:
- fan
- air conditioner
- mirrors
- power windows
- audio system
- reversing camera
- parking sensors
- satellite navigation
Before purchasing, you should ensure that your used van of choice duly complies with this checklist. If you find that your vehicle of choice duly complies with the requirement of this checklist and you need help when it comes to your budget, you should contact a used van financing company that can easily help you with your purchase.


